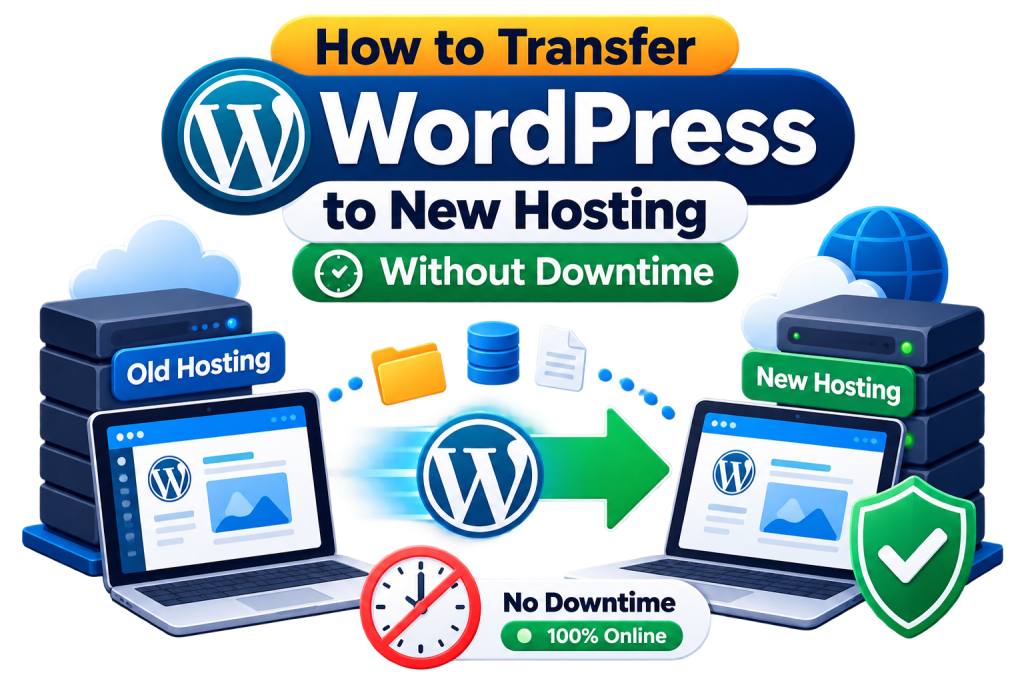
How to Transfer WordPress to New Hosting Without Downtime
Switching hosting providers is one of the most stressful moments for any WordPress site owner. The fear is always the same: what if the site goes offline while you move it? For UAE businesses running time-sensitive bookings, checkout flows, or lead forms, even a few minutes of downtime can mean lost revenue and frustrated customers. […]
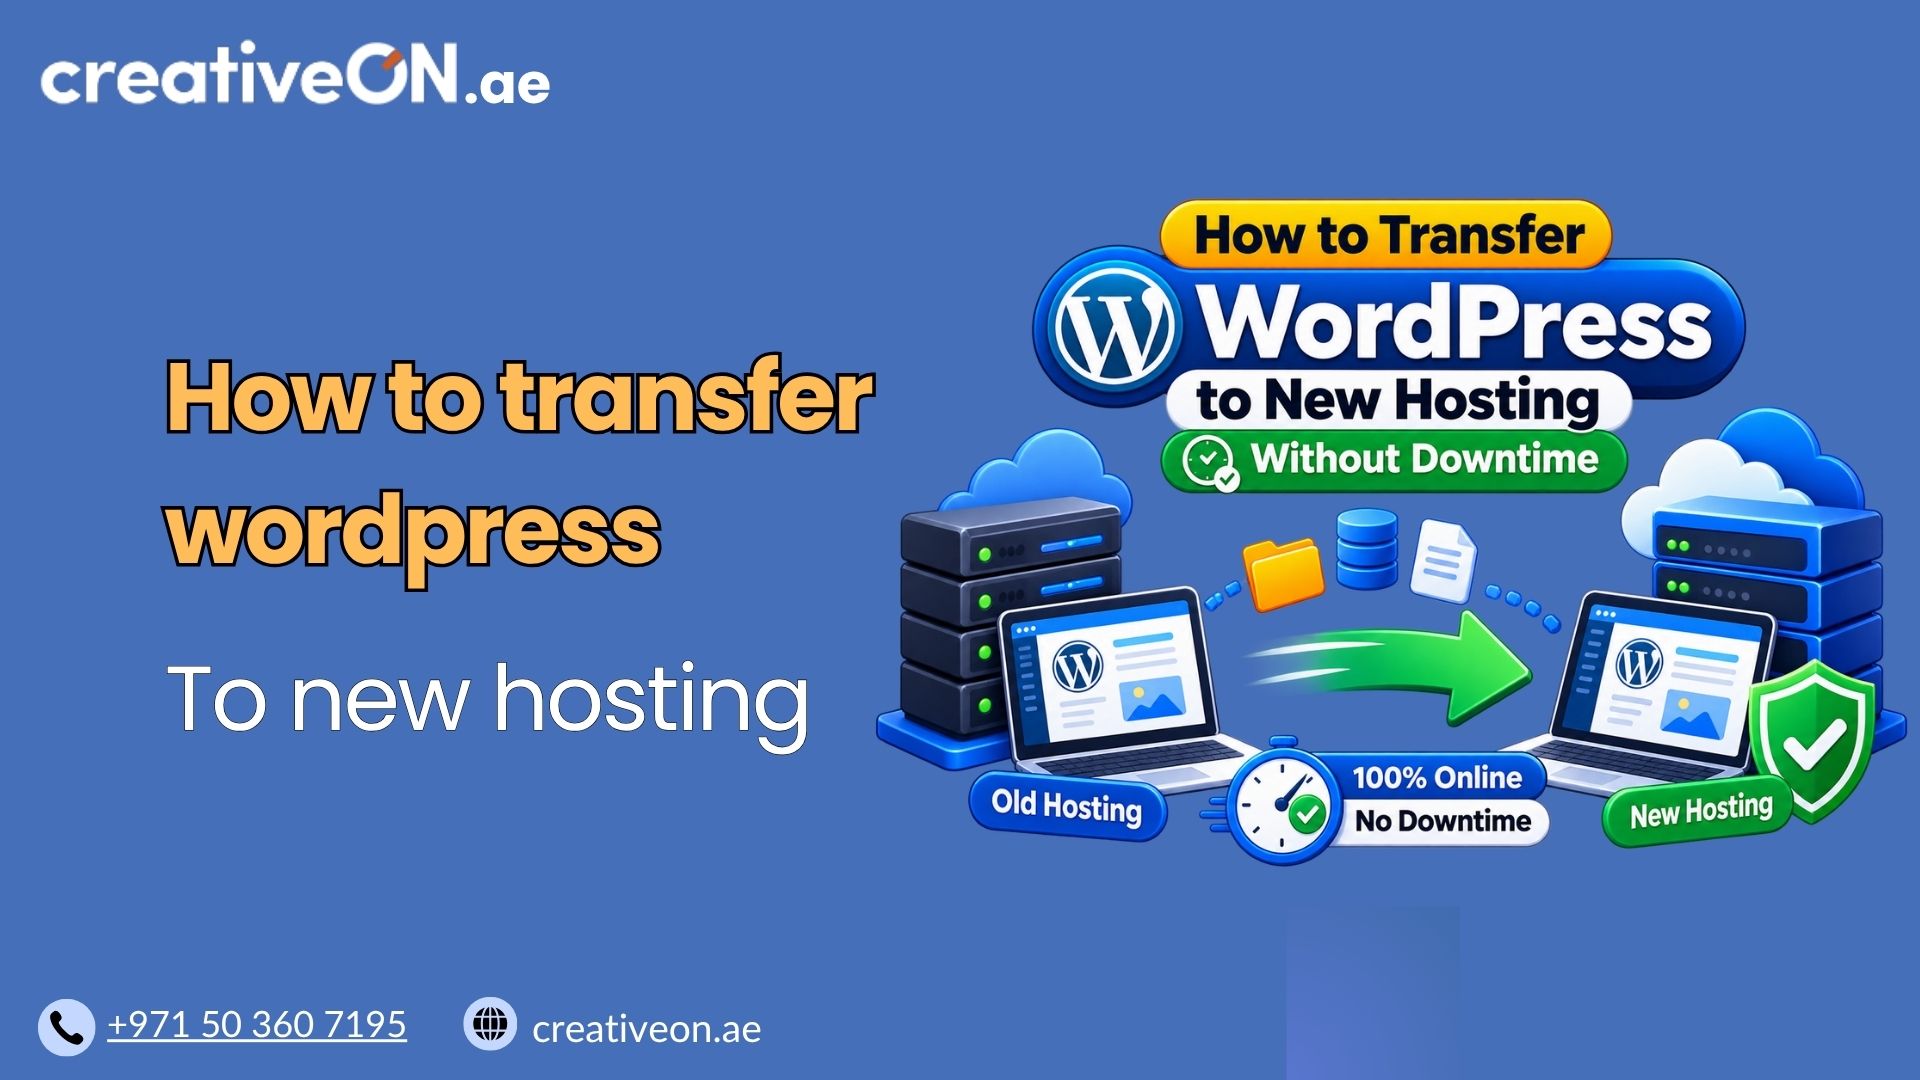
Switching hosting providers is one of the most stressful moments for any WordPress site owner. The fear is always the same: what if the site goes offline while you move it? For UAE businesses running time-sensitive bookings, checkout flows, or lead forms, even a few minutes of downtime can mean lost revenue and frustrated customers.
The good news is that you can transfer WordPress to new hosting without downtime if you follow the right sequence. This guide walks you through exactly how to do it, step by step, so your visitors never notice a thing. If you’re still comparing providers, our Managed WordPress Hosting guide can help you choose a host built for smooth migrations like this one.
Why Downtime Happens During a WordPress Migration
Downtime usually isn’t caused by the migration itself — it’s caused by the order in which things are done. Common mistakes include:
- Pointing the domain to the new server before the site is fully ready
- Forgetting to update the database and file paths after copying files
- Letting DNS changes propagate before testing the new environment
- Skipping a final sync of content created during the migration window
Understanding this helps explain the core strategy below: you build and test the new site quietly in the background, then switch traffic over only once everything is confirmed to work.
Before You Start: What You’ll Need
- Access to your current hosting account (cPanel, hPanel, or similar)
- Access to your new WordPress hosting account
- FTP/SFTP or File Manager access on both ends
- A recent full backup of your site
- Your domain registrar login (for DNS changes later)
If you haven’t reviewed your backup strategy recently, it’s worth checking our WordPress Backup Guide before you begin — a solid backup is your safety net if anything goes wrong.
Step-by-Step: Transferring WordPress Without Downtime
Step 1: Set Up the New Hosting Environment First
Don’t touch your domain yet. Create your new hosting account, install WordPress (or prepare an empty environment), and make sure PHP versions and server requirements match or exceed what your site currently needs.
Step 2: Copy Your Files to the New Server
Use FTP/SFTP or your host’s file manager to copy your entire wp-content folder, along with any custom files outside the standard WordPress core, to the new server. This includes themes, plugins, and uploaded media.
Step 3: Export and Import the Database
Export your WordPress database from the old host using phpMyAdmin or a similar tool, then import it into the new server’s database. Update the wp-config.php file on the new server with the new database name, username, password, and host.
Step 4: Test the Site Using a Temporary URL or Hosts File Edit
This is the step most guides skip — and it’s the one that prevents downtime entirely. Before changing DNS, preview the new site using either:
- A temporary URL provided by your new host, or
- A local hosts file edit on your computer that points your domain to the new server’s IP address only for you
This lets you browse the live, fully functional site exactly as visitors would see it, without affecting anyone else or taking the old site offline.
Step 5: Check for Broken Links, Images, and Functionality
While previewing, click through key pages: the homepage, contact forms, checkout process (if it’s a WooCommerce store), and any custom features. Confirm that images load, forms submit, and URLs resolve correctly. If something looks off, this is your chance to fix it while the old site is still live and serving real visitors.
Step 6: Sync Any New Content Created During the Move
If your site received new orders, comments, or posts while you were setting up the new environment, do a final content sync before cutting over. For busy WooCommerce stores, this step matters most — missing even one order during migration can cause real problems. If you’re running an online store, our WooCommerce Hosting guide covers server requirements worth checking alongside this step.
Step 7: Lower the DNS TTL in Advance
A day or two before the actual switch, lower your domain’s DNS Time to Live (TTL) value to something like 300 seconds (5 minutes). This tells the internet to check for DNS changes more frequently, which dramatically shortens propagation time when you do make the switch. Skipping this step is one of the most common reasons migrations feel “slow” — without a lowered TTL, some visitors may keep seeing the old server for up to 24–48 hours simply because their internet provider cached the old DNS record.
Step 8: Update DNS to Point to the New Server
Once you’ve confirmed everything works on the new hosting environment, update your domain’s A record (and any relevant CNAME records) to point to the new server. Because your site is already fully live and tested on the new host, visitors are simply redirected to an identical, working copy of your site — no blank pages, no errors.
Step 9: Monitor Both Servers During Propagation
DNS propagation can take anywhere from a few minutes to a few hours, even with a low TTL. During this window, some visitors may still land on the old server. Keep the old hosting account active and untouched until propagation is complete, so both versions of the site remain functional in the meantime.
Step 10: Confirm the Switch and Decommission the Old Host
Once you’ve verified traffic is fully resolving to the new server (you can check this with online DNS propagation checkers), test the live site one more time. After a few days of stable performance, you can safely cancel or downgrade your old hosting plan.
Quick Checkli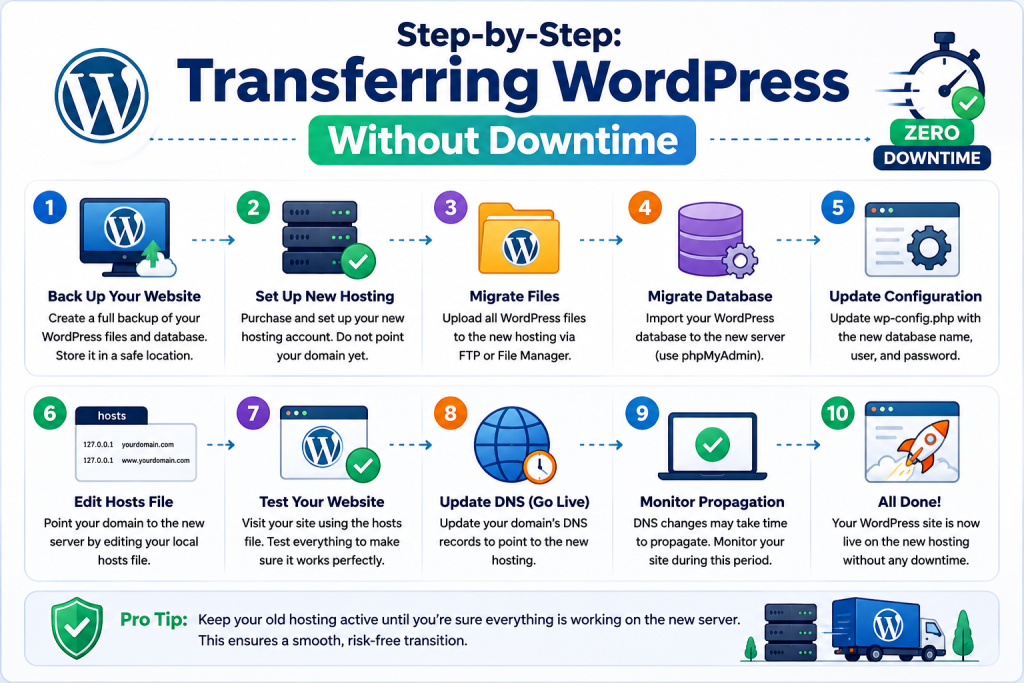 st Before You Call It Done
- [ ] Files and database fully copied and verified on the new server
- [ ] Site tested via temporary URL or hosts file edit
- [ ] SSL certificate active and valid on the new server
- [ ] DNS TTL lowered at least 24 hours in advance
- [ ] DNS records updated and propagation confirmed
- [ ] Old hosting account kept live for at least a week as a fallback
- [ ] Caching cleared on both old and new environments
Best Practices to Guarantee Zero Downtime
- Never delete the old site until the new one is confirmed stable. Keep it as a fallback for at least a week.
- Migrate during low-traffic hours to minimize the impact of any last-minute content changes.
- Use a staging environment on the new host if one is available, so you’re not making live edits mid-migration. See our WordPress Staging Environment Guide for setup steps.
- Confirm SSL is active before switching DNS, so visitors aren’t hit with security warnings. Our SSL for WordPress guide walks through this.
- Clear caching plugins on both the old and new sites after migration to avoid visitors seeing outdated content.
Common Mistakes to Avoid
- Changing DNS before testing the new environment
- Forgetting to update wp-config.php with new database credentials
- Not accounting for file permission differences between hosts
- Ignoring cron jobs or scheduled tasks that need to be recreated
- Ending the process without a final backup of the new, live environment
What to Check After the Migration Is Complete
Once your site is fully live on the new host, a few final checks help confirm everything is genuinely stable, not just visually working:
- Resubmit your sitemap in Google Search Console if your hosting migration changed your sitemap URL or plugin.
- Test contact forms and checkout flows a second time now that real DNS is pointing to the new server, not just your local hosts file.
- Check page load speed on the new server to confirm performance actually improved — this is often the whole reason for migrating in the first place.
- Verify email deliverability if your domain’s email was hosted on the old server, since MX records sometimes get overlooked during DNS updates.
When to Consider Professional Migration Help
If your site is large, runs WooCommerce with active daily orders, or uses custom server configurations, a manual migration carries more risk. Many managed WordPress hosting providers, including CreativeON, offer migration assistance as part of onboarding — which removes most of the manual steps above and reduces the chance of human error.