How to Move WordPress From HTTP to HTTPS
Moving a WordPress website from HTTP to HTTPS involves more than installing an SSL certificate. You also need to update the URLs used by WordPress, redirect the old HTTP addresses, check for mixed content, and verify that important site resources continue to work. The good news is that an HTTP-to-HTTPS migration usually does not require […]
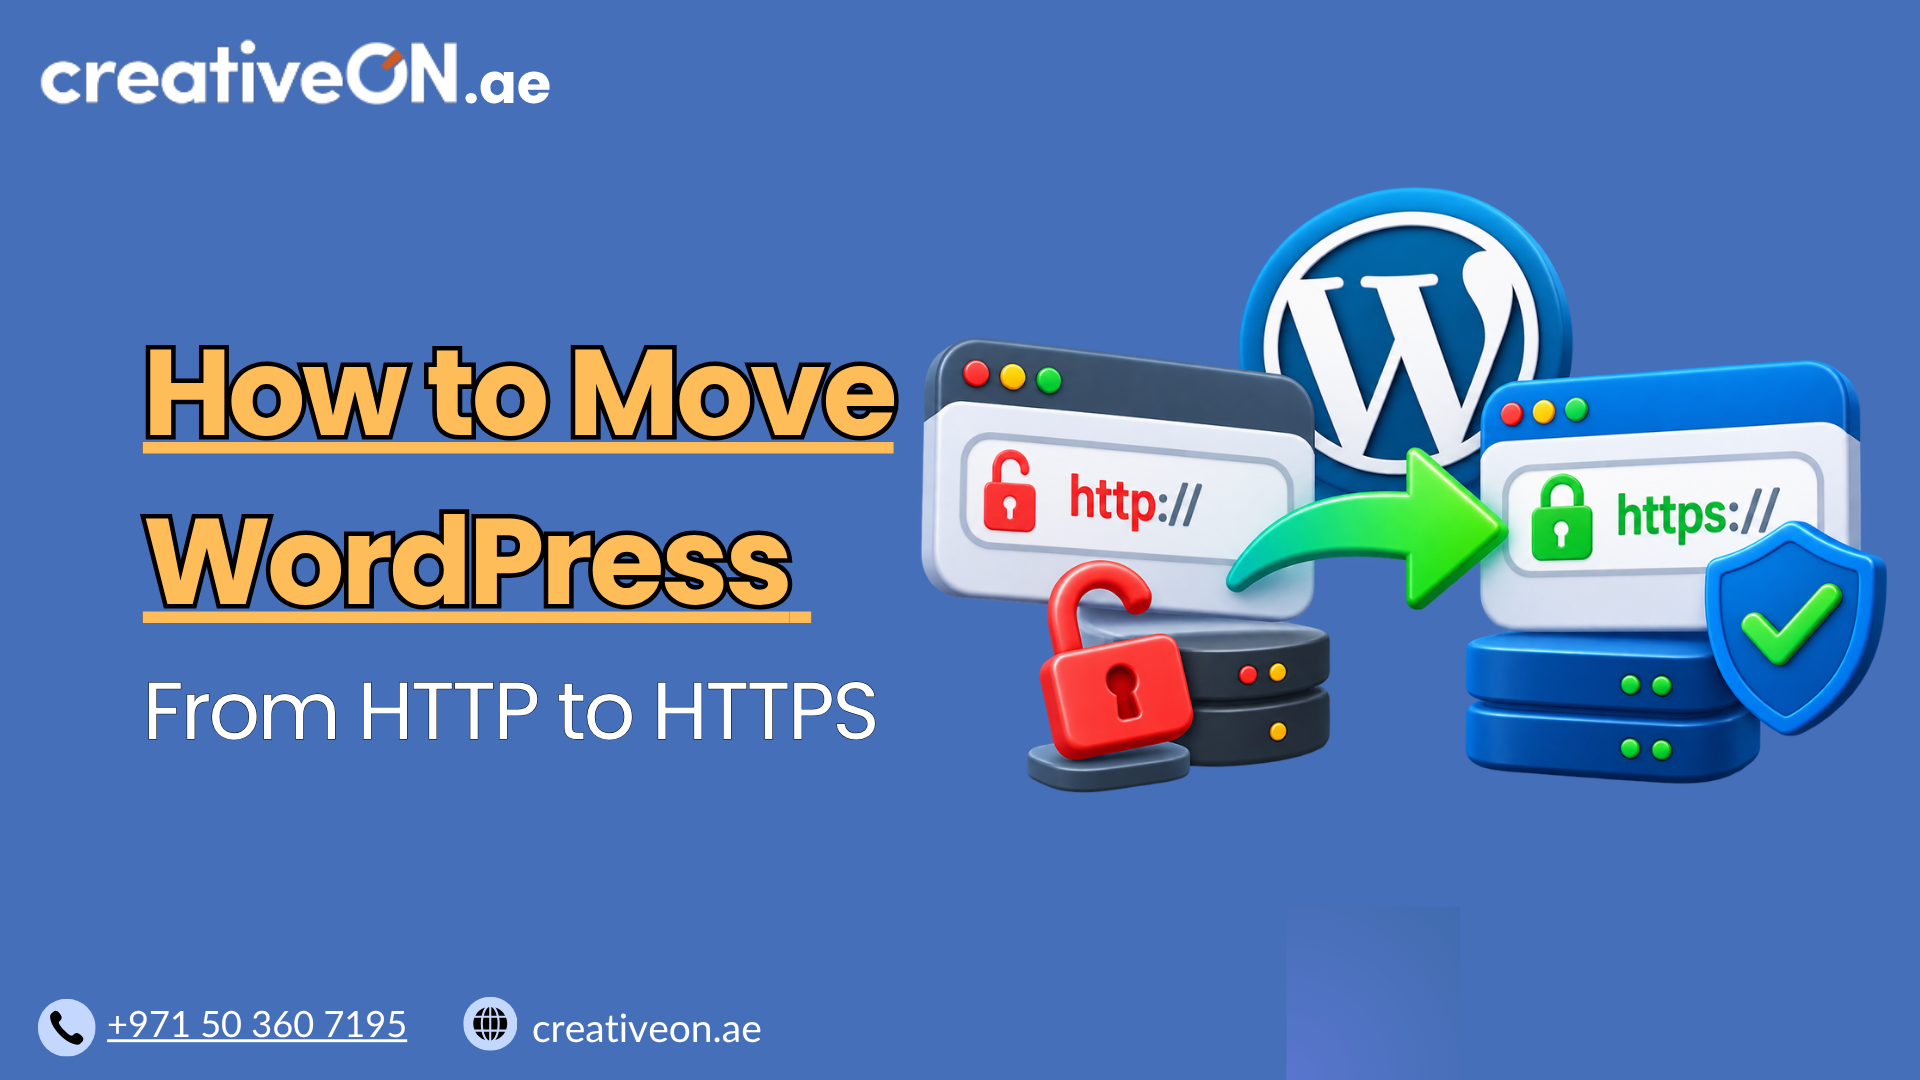
Moving a WordPress website from HTTP to HTTPS involves more than installing an SSL certificate. You also need to update the URLs used by WordPress, redirect the old HTTP addresses, check for mixed content, and verify that important site resources continue to work.
The good news is that an HTTP-to-HTTPS migration usually does not require changing your domain, permalink structure, or WordPress installation.
This guide explains how to move WordPress from HTTP to HTTPS safely while keeping the process focused on the WordPress and hosting configuration involved.
Before You Move WordPress From HTTP to HTTPS
Before changing your WordPress URLs, complete these checks.
Create a complete WordPress backup
Back up your:
- WordPress database
- wp-content directory
- Themes
- Plugins
- Uploaded media
- Important configuration files
A backup gives you a recovery point if a URL change, database replacement, or server configuration causes a problem.
For more information, see our WordPress Backup Best Practices guide.
Confirm that HTTPS already works
Open your website using:
https://example.com
The page should load without a certificate warning.
Modern HTTPS uses TLS encryption. The term “SSL certificate” is still commonly used when referring to the certificate installed for a website, even though current HTTPS connections use TLS.
If the HTTPS version does not work correctly, fix the certificate or hosting configuration before changing WordPress URLs.
Check whether your hosting already forces HTTPS
Some managed WordPress hosting platforms, control panels, CDNs, and web servers can automatically redirect HTTP traffic to HTTPS.
Before adding .htaccess rules or an HTTPS plugin, check your hosting configuration.
Avoid configuring several competing HTTPS redirects. A hosting-level redirect combined with another redirect from a plugin, CDN, and .htaccess can cause redirect loops or unnecessary redirect chains.
How to Move WordPress From HTTP to HTTPS
The migration can usually be completed in the following order:
- Verify SSL/TLS.
- Change the WordPress URLs.
- Update stored HTTP URLs where necessary.
- Redirect HTTP to HTTPS.
- Fix mixed content.
- Check canonical URLs and sitemaps.
- Test the website and monitor Search Console.
Step 1: Install and Verify Your SSL/TLS Certificate
Your domain needs a valid certificate before WordPress should be switched to HTTPS.
Test:
http://example.com
https://example.com
At this stage, it is fine if the HTTP version still loads normally.
The important thing is that the HTTPS version works correctly before you make it the primary WordPress URL.
If you’re using managed WordPress hosting, SSL installation may already be included or automated by your hosting provider.
Step 2: Change the WordPress Address and Site Address
In your WordPress dashboard, go to:
Settings → General
You will normally see:
- WordPress Address (URL)
- Site Address (URL)
Change:
http://example.com
to:
https://example.com
for both fields.
Then save the changes.
WordPress uses these settings to determine important site URLs. WordPress documentation also identifies the Home URL and Site URL as key configuration values.
You may be logged out after saving the changes. Log back in using the HTTPS version of your website.
What if the URL fields cannot be changed?
Some WordPress installations define these values in wp-config.php.
For example:
define( ‘WP_HOME’, ‘https://example.com’ );
define( ‘WP_SITEURL’, ‘https://example.com’ );
If these constants are already defined, they can override the corresponding database settings.
Check wp-config.php before troubleshooting the WordPress URL fields.
Do not add these constants simply because the site is moving to HTTPS. Only use them when your WordPress configuration requires them.
Step 3: Update HTTP URLs Stored in WordPress
Changing the WordPress Address and Site Address does not necessarily replace every HTTP URL already stored in your database.
Older HTTP references may still exist in:
- Posts and pages
- Image URLs
- Theme settings
- Plugin settings
- Custom fields
- Page builders
- Embedded media
- Custom HTML or CSS
For example:
http://example.com/wp-content/uploads/photo.jpg
may need to become:
https://example.com/wp-content/uploads/photo.jpg
Use a WordPress-aware search and replace
For larger sites, a database search-and-replace operation can update old URLs efficiently.
If you have WP-CLI access, WordPress provides a search-replace command for this type of migration.
For example:
wp search-replace ‘http://example.com’ ‘https://example.com’ –skip-columns=guid
Always create a database backup first and test the replacement carefully.
The guid column should not be changed blindly during a WordPress URL migration. Follow WordPress’s documented approach when using WP-CLI rather than performing a raw database-wide replacement.
If you’re not comfortable working directly with the database, use a WordPress-compatible search-and-replace tool that supports serialized data or ask your hosting provider for assistance.
Step 4: Redirect HTTP URLs to HTTPS
After HTTPS becomes the primary version of your WordPress site, visitors who request an old HTTP URL should be redirected to the corresponding HTTPS URL.
For example:
http://example.com/about/
↓ 301
https://example.com/about/
A 301 permanent redirect is commonly used for this purpose.
Google recommends server-side permanent redirects, such as 301 or 308 redirects, when moving URLs. It also recommends avoiding unnecessary redirect chains.
Apache or LiteSpeed example
If your hosting environment uses Apache or LiteSpeed, HTTPS redirection may be configured through .htaccess.
A basic example is:
RewriteEngine On
RewriteCond %{HTTPS} !=on
RewriteRule ^ https://%{HTTP_HOST}%{REQUEST_URI} [L,R=301]
However, do not add this rule if your hosting platform or CDN already handles HTTPS redirects unless you know another rule is required.
Nginx, CDNs, reverse proxies, and managed hosting platforms can use different configurations.
Avoid redirect chains
Try to send the old URL directly to its final HTTPS version.
Avoid configurations such as:
HTTP
↓
HTTPS
↓
www
↓
final HTTPS URL
Instead, configure the redirect so the old URL reaches the preferred HTTPS URL directly whenever possible.
Step 5: Fix Mixed Content
After switching to HTTPS, some pages may still request resources using HTTP.
This is called mixed content.
For example, an HTTPS page might still load:
http://example.com/wp-content/uploads/logo.png
instead of:
https://example.com/wp-content/uploads/logo.png
Mixed content can affect:
- Images
- CSS
- JavaScript
- Fonts
- Embedded media
- Other page resources
How to find mixed-content problems
Open an HTTPS page in a modern browser and check the browser’s developer tools.
Look at the Console for mixed-content warnings.
Then identify the HTTP resource and update its URL.
Also check:
- Theme settings
- Plugin settings
- Page builder content
- Custom HTML
- Custom CSS
- Media URLs
If an external resource is still using HTTP, don’t automatically change it to HTTPS. First confirm that the external service actually supports HTTPS.
Step 6: Check Canonical URLs, Internal Links, and Your Sitemap
After the migration, important URL references should point to HTTPS.
Check:
Canonical URLs
Your preferred pages should use HTTPS canonical URLs, for example:
<link rel=”canonical” href=”https://example.com/about/”>
Internal links
Where possible, update internal links so they directly point to HTTPS rather than relying on redirects.
For example, change:
http://example.com/services/
to:
https://example.com/services/
XML sitemap
Your sitemap should contain HTTPS URLs.
For example:
https://example.com/post-sitemap.xml
and the URLs inside it should also use HTTPS.
Google recommends updating canonical URLs, internal links, and the sitemap during an HTTP-to-HTTPS site move.
Step 7: Verify the HTTPS Migration in WordPress
WordPress provides a useful built-in check.
Go to:
Tools → Site Health → Info
The Site Health information includes:
Is this site using HTTPS?
This gives you a quick way to confirm that WordPress recognizes the site as using HTTPS.
Also check:
- WordPress Address
- Site Address
- Permalink structure
- Server information
- WordPress constants
Site Health can also help identify configuration issues that may need attention.
Step 8: Test Your Website After the Migration
Do not assume the migration is complete immediately after changing the URL.
Test important areas of your website.
Check these pages and functions
- Homepage
- Main navigation
- Blog posts
- Pages
- Images
- CSS
- JavaScript
- Contact forms
- Login page
- Search
- WooCommerce products
- Cart and checkout
- Payment pages
- Admin dashboard
Also test several old HTTP URLs.
For example:
http://example.com/
http://example.com/about/
http://example.com/blog/example-post/
Each should redirect to its corresponding HTTPS URL.
Do not test only the homepage. Problems can exist on individual posts, pages, images, or other resources.
What Changes When You Move WordPress to HTTPS?
An HTTP-to-HTTPS migration should be relatively small in scope.
Item | What to do |
WordPress Address | Change to HTTPS |
Site Address | Change to HTTPS |
HTTP URLs | Redirect to HTTPS |
Internal HTTP links | Update where appropriate |
Image URLs | Update where necessary |
Canonical URLs | Use HTTPS |
XML sitemap | Use HTTPS URLs |
Existing page slugs | Usually leave unchanged |
Permalink structure | Usually leave unchanged |
Domain name | Leave unchanged |
For example:
http://example.com/about/
becomes:
https://example.com/about/
The domain and page path remain the same.
You are changing the protocol, not redesigning the site’s URL structure.
Common WordPress HTTP to HTTPS Problems
Problem | Likely Cause | What to Check |
Redirect loop | Conflicting HTTPS rules | CDN, hosting, .htaccess, plugins |
Site looks unstyled | Mixed content | CSS and JavaScript URLs |
Images don’t load | HTTP image references | Database and media URLs |
WordPress redirects to HTTP | Incorrect site URL | Settings or wp-config.php |
Admin behaves unexpectedly | Proxy or URL configuration | HTTPS, WordPress constants, server settings |
Sitemap contains HTTP | Cached or incorrectly generated sitemap | SEO plugin and cache |
Some pages still use HTTP | Hard-coded URLs | Content, theme, plugin settings |
Redirect loop
A redirect loop often happens when HTTPS is configured in more than one place or when a CDN/reverse proxy and the origin server disagree about whether the visitor is using HTTPS.
Check the configuration before adding additional redirect rules.
WordPress keeps using HTTP
Check:
- WordPress Address
- Site Address
- WP_HOME
- WP_SITEURL
- Server redirect rules
- CDN/proxy configuration
The website looks broken after HTTPS
Start by checking for mixed-content errors.
If CSS or JavaScript files are still being requested over HTTP, the browser may block them.
Images still use HTTP
Existing image URLs may be stored in your database, page-builder content, theme settings, or custom fields.
A careful WordPress-aware search-and-replace operation may be required.
Google Search Console After Moving WordPress to HTTPS
An HTTP-to-HTTPS migration is a URL migration, so it is worth monitoring your site in Google Search Console.
Google recommends verifying the relevant HTTP and HTTPS properties and using Search Console to monitor the migration.
Do you need Google’s Change of Address tool?
No.
Google specifically states that the Change of Address tool is for moves between domains or subdomains. It is not required when switching from HTTP to HTTPS on the same domain.
For an HTTPS migration:
- Verify the relevant Search Console properties.
- Confirm your HTTPS pages are accessible.
- Check your redirects.
- Submit the HTTPS sitemap.
- Monitor indexing and traffic.
Submit the HTTPS sitemap
Once your sitemap contains HTTPS URLs, submit the HTTPS version through the Sitemaps section of Search Console.
Google recommends submitting the new sitemap to help it discover the new URLs.
Temporary fluctuations in search visibility can occur while Google crawls and processes the moved URLs. This is normal during a site move.
Do Not Remove the Old HTTP URLs
One common mistake is to disable the old HTTP URLs immediately after HTTPS starts working.
Don’t do this.
The old URLs should continue to respond with permanent redirects to their HTTPS equivalents.
For example:
http://example.com/service/
↓
https://example.com/service/
Keep these redirects in place for as long as practical. Google recommends keeping redirects for as long as possible and generally for at least one year during URL migrations.
Also update your own internal links so visitors don’t have to pass through redirects unnecessarily.
Best Practices for Moving WordPress From HTTP to HTTPS
Before considering the migration complete:
- Create a complete WordPress backup.
- Verify the SSL/TLS certificate first.
- Check whether your hosting provider already forces HTTPS.
- Change both WordPress URL settings.
- Check wp-config.php for URL constants.
- Update stored HTTP URLs carefully.
- Use a WordPress-aware search-and-replace method.
- Avoid changing the guid column unnecessarily.
- Configure one reliable HTTPS redirect mechanism.
- Use permanent server-side redirects.
- Avoid redirect chains.
- Fix mixed-content warnings.
- Update internal links.
- Verify canonical URLs.
- Check the XML sitemap.
- Verify HTTPS in WordPress Site Health.
- Test important pages and functions.
- Verify the HTTPS version in Search Console.
- Submit the HTTPS sitemap.
- Keep HTTP-to-HTTPS redirects active.
FAQ
Yes. In most cases, you do not need to reinstall WordPress. The process normally involves configuring SSL/TLS, changing the WordPress URLs, updating existing HTTP references, configuring redirects, and testing the website.
No. You normally keep the same domain and page paths. Only the protocol changes from http:// to https://.
No. Changing the WordPress Address and Site Address does not guarantee that every HTTP URL stored in your database, theme, plugins, or page-builder content will be updated.
A permanent server-side redirect, such as a 301 or 308, is the recommended approach for sending old HTTP URLs to their HTTPS equivalents. Google recommends server-side permanent redirects for URL migrations.
No. Google says the Change of Address tool is not required when moving from HTTP to HTTPS on the same domain.
Keep them for as long as practical. Google recommends keeping redirects for at least one year during a site move, while keeping them indefinitely can be beneficial for users and older links.
Conclusion
Moving WordPress from HTTP to HTTPS is usually straightforward when the migration is performed in the correct order.
First, make sure your SSL/TLS certificate works. Then change the WordPress and Site URLs, update remaining HTTP references, configure permanent redirects, fix mixed content, verify canonical URLs and sitemaps, and test the website thoroughly.
You do not need to change your domain or rebuild WordPress simply because you’re switching from HTTP to HTTPS.
If you’re using managed WordPress hosting, check whether your hosting platform already handles SSL and HTTPS redirection before making server-level changes. This can help prevent duplicate redirect rules and configuration conflicts.
For related WordPress hosting guidance, see our WordPress Security Best Practices, WordPress Backup Best Practices, WordPress Caching Guide, and WordPress Migration Guide.