How to Fix WordPress After Changing the Domain Name
Changing your WordPress domain name can cause unexpected problems. Your website may redirect to the old domain, images may disappear, pages may return 404 errors, or WordPress may stop loading correctly. If you are wondering how to fix WordPress after changing the domain name, the main issue is usually inconsistent URLs. WordPress stores your website […]

Changing your WordPress domain name can cause unexpected problems. Your website may redirect to the old domain, images may disappear, pages may return 404 errors, or WordPress may stop loading correctly.
If you are wondering how to fix WordPress after changing the domain name, the main issue is usually inconsistent URLs. WordPress stores your website address in its settings and database. Other references can also exist in themes, plugins, redirects, and cached files.
The good news is that most domain-change problems can be fixed without rebuilding the website.
This guide walks you through the safest steps to restore WordPress after changing the domain name.
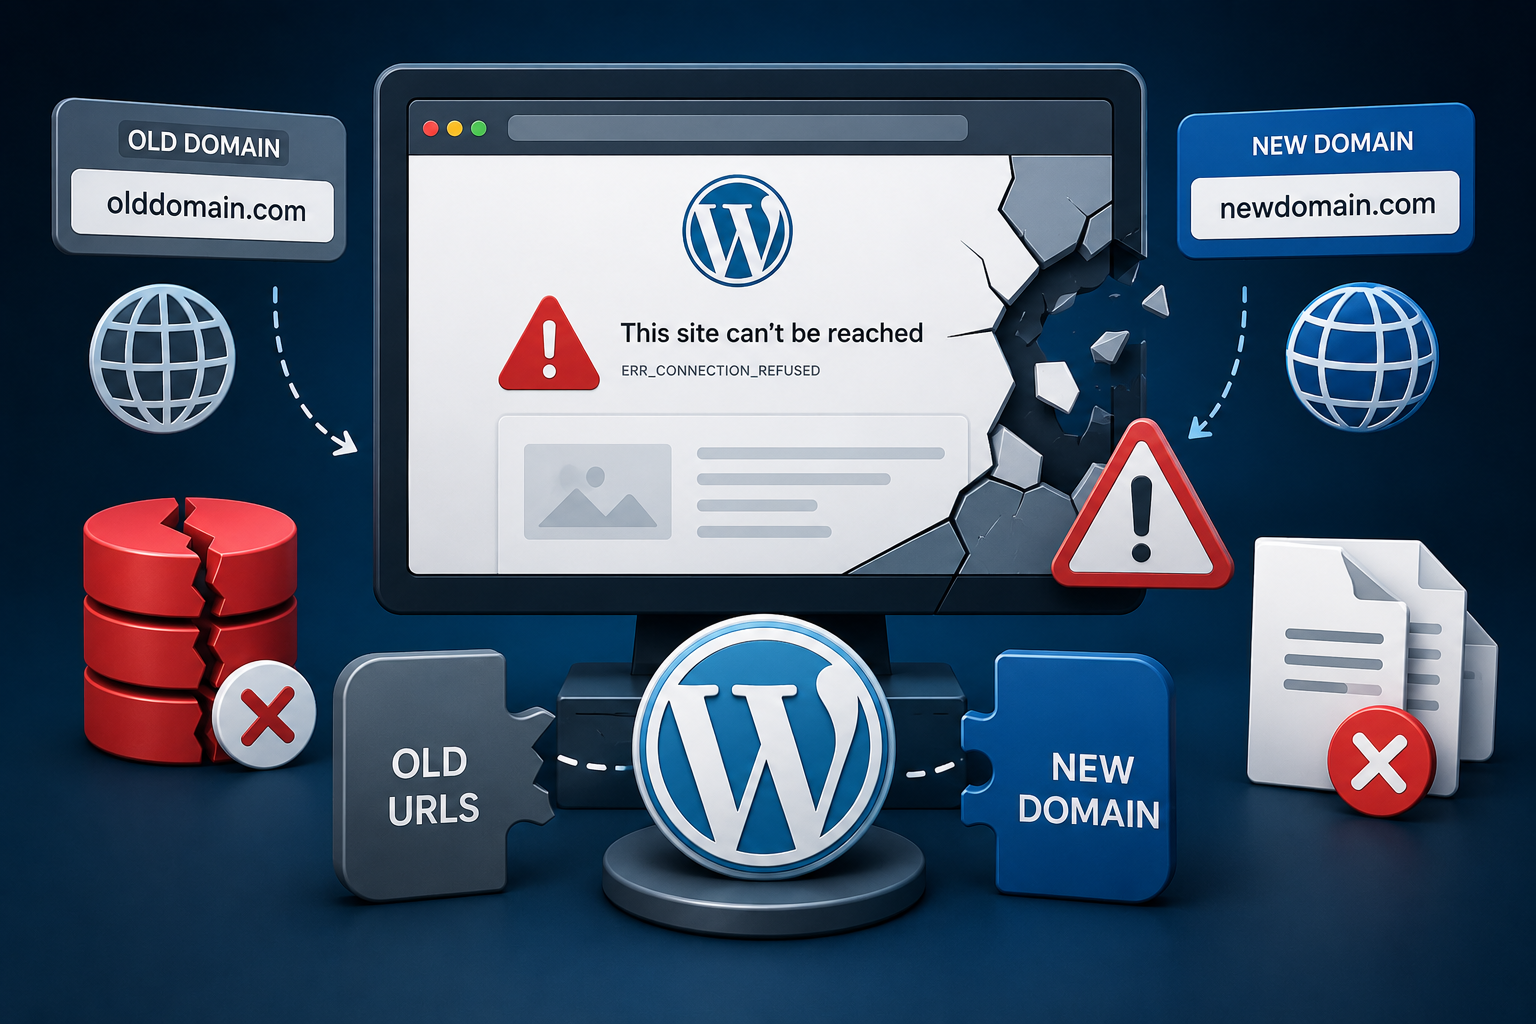
Why WordPress Breaks After Changing the Domain Name
Changing a domain does not automatically update every reference to the old domain.
For example, suppose your website changed from:
https://oldexample.com
to:
https://newexample.com
WordPress may still contain URLs such as:
https://oldexample.com/wp-content/uploads/logo.png
These old references can cause:
- Broken images
- Broken internal links
- Missing CSS or JavaScript
- Redirect loops
- Login problems
- 404 errors
- SSL or mixed-content warnings
WordPress documentation confirms that references to the previous domain can remain in the database after a URL change. It also warns that careless database replacements can damage serialized data.
Therefore, changing the DNS record alone is not enough.
Before You Fix WordPress, Create a Backup
Before making database or configuration changes, create a complete backup.
At minimum, back up:
- WordPress database
- WordPress files
- wp-config.php
- .htaccess, if your site uses it
- Important theme and plugin configuration
This step matters because a search-and-replace operation can affect many database records.
If something goes wrong, you can restore the website and try again.
Step 1: Make Sure the New Domain Points to Your WordPress Hosting
First, confirm that the new domain reaches the correct hosting account.
Check the following:
- The new domain uses the correct DNS records.
- The domain is added to the correct hosting account.
- The domain points to the WordPress installation.
- The website loads from the new domain.
- The server has a valid SSL certificate for the new domain.
For example:
https://newexample.com
should load the intended WordPress website.
Remember, DNS and WordPress URL settings perform different jobs. DNS directs the domain to a server. WordPress settings tell the application which URL it should use.
If the website points to the wrong server, fix the hosting or DNS configuration before changing WordPress settings.
Step 2: Update the WordPress Address and Site Address
If you can access the WordPress dashboard, go to:
Settings → General
Check these two fields:
- WordPress Address (URL)
- Site Address (URL)
Change the old domain to the new domain.
For example:
https://oldexample.com
should become:
https://newexample.com
Also make sure the URL format is consistent.
For example, do not accidentally use:
http://newexample.com
in one setting and:
https://newexample.com
in another.
WordPress treats the WordPress Address and Site Address as separate settings, so both should be checked after a domain change.
Step 3: Fix WordPress If You Cannot Access wp-admin
Sometimes changing the domain prevents you from accessing the WordPress dashboard.
In that situation, you can temporarily define the correct URLs in wp-config.php:
define( ‘WP_HOME’, ‘https://newexample.com’ );
define( ‘WP_SITEURL’, ‘https://newexample.com’ );
Add these lines before:
/* That’s all, stop editing! Happy publishing. */
These constants override the corresponding WordPress URL settings.
However, there is an important distinction: defining WP_HOME and WP_SITEURL does not update the values stored in the database.
Therefore, use this method to regain control of the website or force the correct URL while you investigate the underlying problem.
Step 4: Safely Replace the Old Domain in the WordPress Database
This is one of the most important steps when fixing WordPress after changing the domain name.
Your database may contain the old domain in:
- Posts
- Pages
- Post metadata
- Widgets
- Theme settings
- Plugin settings
- Media URLs
- Internal links
You need to update references that should point to the new domain.
Do not use a basic SQL replacement blindly
A simple database-wide REPLACE() operation can damage serialized PHP data.
WordPress specifically warns about this problem because some themes, plugins, and widgets store data together with string-length information. Changing the URL without updating that data correctly can corrupt it.
Instead, use a WordPress-aware search-and-replace method.
Using WP-CLI
If WP-CLI is available on your hosting account, start with a dry run:
wp search-replace ‘https://oldexample.com’ ‘https://newexample.com’ –dry-run
Review the results before making any changes.
If the results are correct, run:
wp search-replace ‘https://oldexample.com’ ‘https://newexample.com’
WP-CLI’s search-replace command is designed to handle PHP serialized data intelligently. It also supports a dry-run mode so you can inspect the expected changes first.
If you do not have WP-CLI, use a reputable WordPress search-and-replace tool that supports serialized data.
Step 5: Check for Broken Images and Media
After changing the domain, open several pages and check your images.
Pay particular attention to:
- Featured images
- Images inside posts
- Logos
- Background images
- Downloadable files
- Media Library items
If an image still points to:
https://oldexample.com/
instead of:
https://newexample.com/
the database may still contain the old URL.
A proper search-and-replace operation should update those references without damaging serialized data.
Do not manually change hundreds of image URLs unless the website is very small.
Step 6: Refresh WordPress Permalinks
If WordPress pages return 404 Not Found errors after the domain change, refresh the rewrite rules.
Go to:
Settings → Permalinks
You normally do not need to change the permalink structure.
Simply click:
Save Changes
Visiting the Permalinks screen flushes WordPress rewrite rules. This can resolve pages that suddenly return 404 errors after configuration changes.
Afterward, test:
- Homepage
- Pages
- Blog posts
- Categories
- Tags
- Custom post types
If specific URLs still return 404 errors, investigate their individual rewrite or redirect configuration.
Step 7: Check for Redirect Loops
A redirect loop can occur when different parts of the website disagree about the correct URL.
For example:
oldexample.com
↓
newexample.com
↓
oldexample.com
You may also see loops involving HTTP and HTTPS:
http://newexample.com
↓
https://newexample.com
↓
http://newexample.com
Check:
- WordPress URL settings
- .htaccess
- Hosting redirect rules
- CDN settings
- Redirect plugins
- HTTPS configuration
The goal is to make every old URL reach its final new URL directly.
Google recommends server-side permanent redirects and advises avoiding redirect chains.
Step 8: Check SSL and HTTPS
After changing the domain, make sure the new domain has a valid SSL certificate.
Open:
https://newexample.com
and confirm that the browser shows a secure connection.
Next, check for mixed-content problems.
For example, your page may load over HTTPS while an image or stylesheet still uses:
http://oldexample.com/
Update those references to the new HTTPS domain.
If the SSL certificate does not cover the new domain, install or configure the correct certificate through your hosting environment.
Step 9: Clear WordPress, Server, and CDN Caches
Caching can make an already-fixed domain appear broken.
Clear relevant caches after making URL changes.
Depending on your setup, this may include:
- WordPress cache
- Server-side cache
- Object cache
- CDN cache
- Browser cache
Then test the website in a private or incognito browser window.
This helps determine whether you are seeing the current website or an older cached version.
Step 10: Check Canonical URLs and Robots Settings
A WordPress domain change can leave your site’s SEO signals pointing toward the old domain.
Check several important pages and confirm that their canonical URLs use the new domain.
For example:
https://newexample.com/about/
should be the canonical URL instead of:
https://oldexample.com/about/
Google recommends that moved pages use canonical URLs pointing to the new URLs. It also recommends checking robots directives during a site move.
Also check that the new website does not accidentally contain:
noindex
directives that prevent important pages from appearing in search.
Check the site’s robots.txt file as well. Do not use robots.txt as a method for choosing canonical URLs; Google specifically advises against that.
Step 11: Test the Website From Front to Back
Do not assume the problem is fixed because the homepage works.
Test the website systematically.
Front-end checks
Open:
- Homepage
- Main pages
- Blog posts
- Categories
- Navigation menus
- Images
- Contact forms
- Search
- Downloads
WordPress admin checks
Test:
- /wp-admin
- Media Library
- Posts
- Pages
- Plugins
- Themes
- Settings
Technical checks
Also verify:
- HTTPS works
- No redirect loops exist
- Internal links use the new domain
- Images load correctly
- Important resources do not use the old domain
- Permalinks work
- Forms submit correctly
For a larger website, crawl the site and search for remaining references to the old domain.
Step 12: Update Google Search Console
If you changed the domain from one domain to another, the website move also affects Google Search.
First, verify both the old and new domains in Google Search Console.
Then:
- Add and verify the new domain.
- Check the new site’s indexing.
- Submit the new XML sitemap.
- Use Change of Address for the old property when appropriate.
- Monitor indexing and traffic on both domains.
Google recommends verifying the old and new properties, submitting the new sitemap, and using Change of Address for domain or subdomain changes.
Your new sitemap should contain the new URLs you want Google to index. Google recommends using fully qualified URLs in sitemaps.
Do not expect search results to switch instantly. Google notes that rankings and visibility can fluctuate temporarily while it crawls and processes the moved URLs.
Step 13: Redirect the Old Domain to the New Domain
Do not immediately abandon the old domain.
If the old domain has existing traffic, backlinks, bookmarks, or indexed URLs, configure permanent redirects.
For example:
https://oldexample.com/about/
↓
https://newexample.com/about/
Try to map important old URLs to their equivalent new URLs.
Avoid sending every old URL to the homepage when a more relevant destination exists. Google warns that irrelevant redirects can create poor user experiences and may be treated as soft 404s.
For a domain move, Google recommends keeping redirects in place for at least one year so its systems have time to process the move.
Common WordPress Domain Change Mistakes
Changing only DNS
DNS tells the domain where to connect. It does not update WordPress URLs stored in the database.
Updating only one WordPress URL
Check both the WordPress Address and Site Address.
Running a raw database replacement
A basic SQL replacement can damage serialized WordPress data. Use a serialization-aware tool instead.
Forgetting HTTPS
The new domain needs a valid SSL certificate and consistent HTTPS URLs.
Clearing redirects too early
Old URLs may still receive visitors and search traffic. Keep appropriate redirects active.
Redirecting everything to the homepage
Redirect old URLs to their closest relevant new destinations instead.
Testing only the homepage
The homepage can work while images, posts, forms, login pages, and internal links remain broken.
Leaving the old domain in canonical URLs
Your new pages should use the new domain as their canonical URL.
Blocking the new site from search engines
Check robots.txt and noindex settings after the move so important pages remain crawlable and indexable.
Quick WordPress Domain Change Checklist
- Back up the WordPress database and files
- Point the new domain to the correct hosting account
- Confirm the new domain loads the correct website
- Install or verify SSL for the new domain
- Update WordPress Address (URL)
- Update Site Address (URL)
- Restore admin access if necessary through wp-config.php
- Safely replace old-domain URLs in the database
- Check images and media
- Refresh permalink rules
- Check redirect rules
- Fix HTTPS and mixed-content issues
- Clear WordPress, server, and CDN caches
- Check canonical URLs
- Check robots.txt and noindex settings
- Test important pages and forms
- Verify the old and new domains in Search Console
- Submit the new sitemap
- Use Change of Address when applicable
- Keep appropriate 301 redirects from the old domain