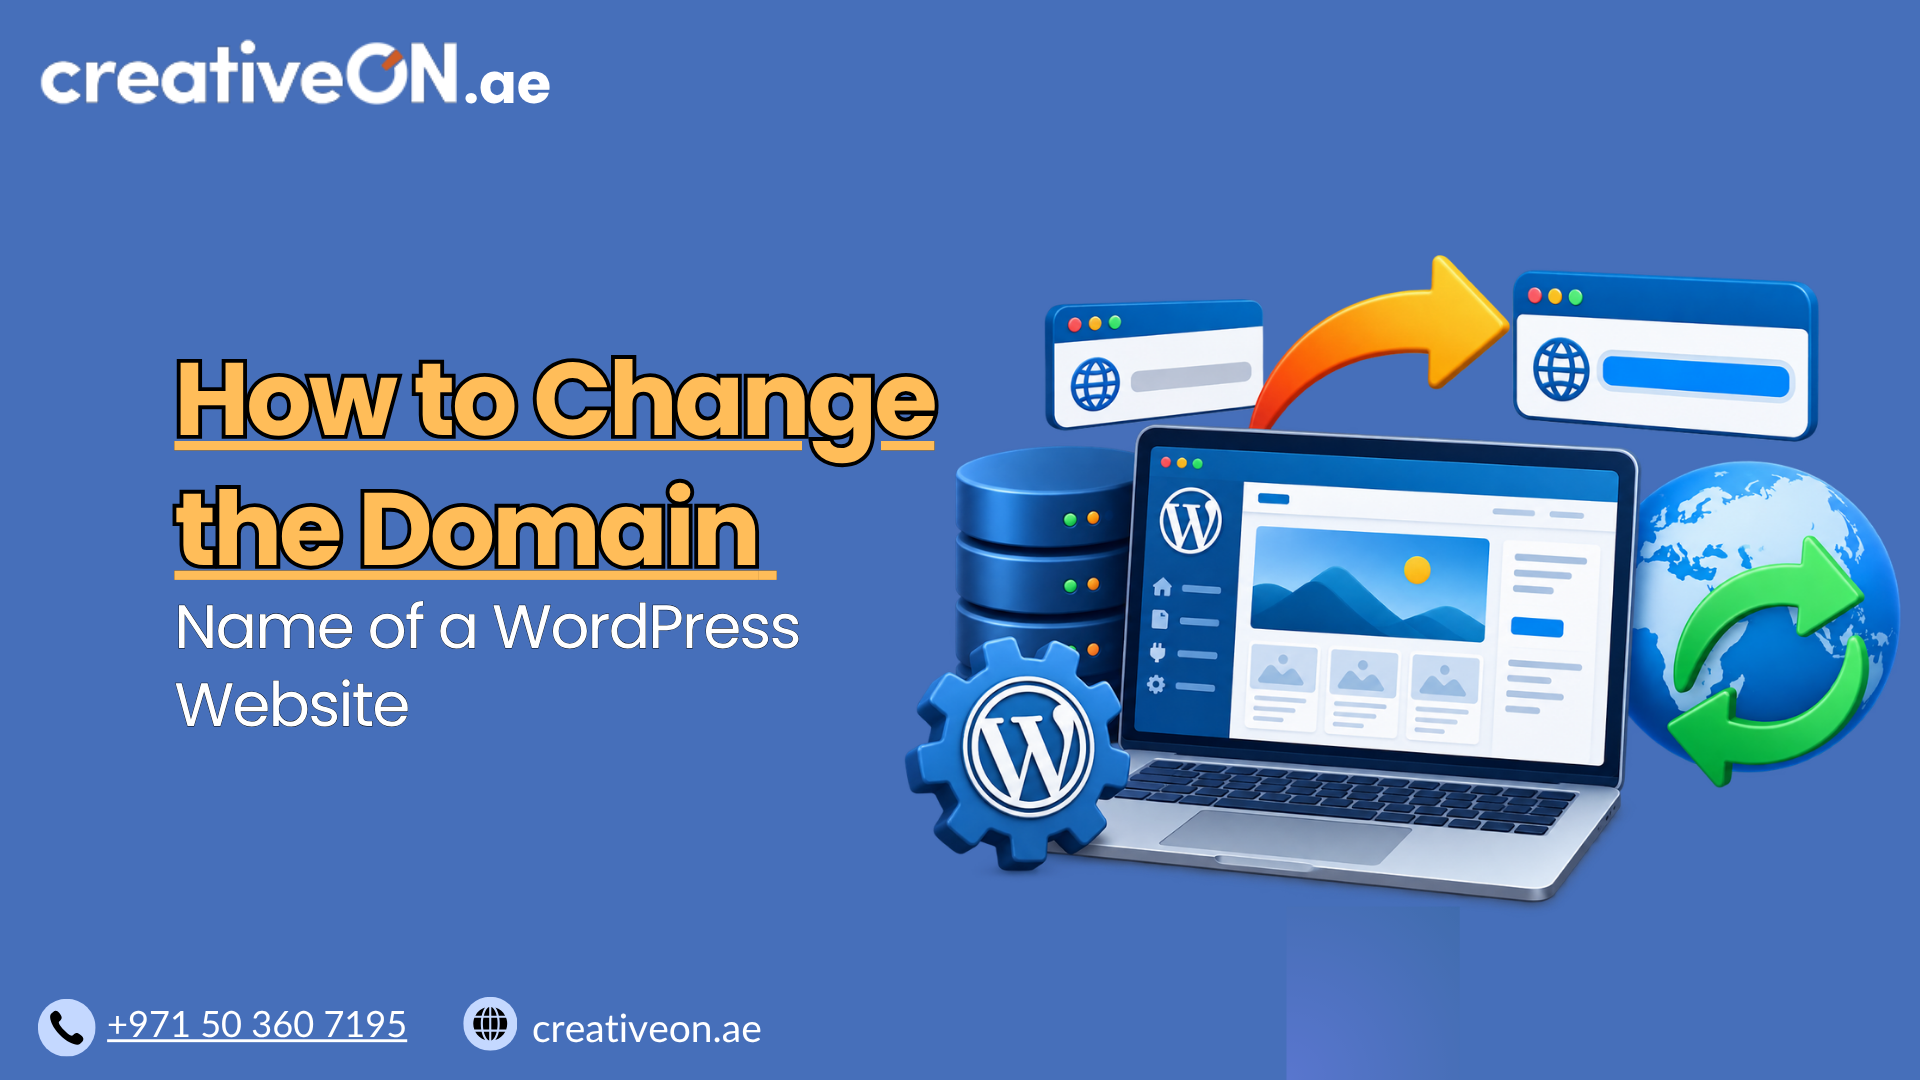
How to Change the Domain Name of a WordPress Website
If you’re planning to change domain name WordPress settings for your site — whether you’re rebranding, switching from a temporary domain, or moving to a shorter and more memorable name — the process needs to be handled carefully. Get it wrong, and you could end up with broken links, lost SEO rankings, or a site […]
If you’re planning to change domain name WordPress settings for your site — whether you’re rebranding, switching from a temporary domain, or moving to a shorter and more memorable name — the process needs to be handled carefully. Get it wrong, and you could end up with broken links, lost SEO rankings, or a site that simply won’t load.
The good news is that changing your WordPress domain name is a straightforward process once you understand the moving parts. This guide walks you through exactly what to do, in the right order, so your site stays functional and your rankings stay intact.

Why Changing Your Domain Name Requires Care
WordPress doesn’t just use your domain name for the address bar. It stores your domain throughout the database — in settings, page URLs, image links, and internal references. Simply pointing a new domain at your hosting account isn’t enough. If you skip steps or do them out of order, you’ll likely see:
- Broken images and internal links
- Redirect loops or “site not found” errors
- Login issues in the WordPress dashboard
- A drop in search rankings if old URLs aren’t redirected properly
Understanding this upfront helps explain why the steps below matter, and why each one exists.
Before You Begin: What You’ll Need
Before touching any settings, make sure you have:
- A full website backup. This includes your files and your database. If anything goes wrong, you’ll want a clean restore point.
- Access to your hosting control panel, where you’ll manage domain pointing and DNS.
- Access to your domain registrar account if your new domain is registered elsewhere.
- A short maintenance window. Changes can take a few minutes to a few hours to fully propagate, so avoid doing this during peak traffic hours.
If you’re not confident managing backups yourself, it’s worth reviewing a dedicated WordPress Backup Guide before starting, since a reliable backup is your safety net throughout this process.
Step-by-Step: How to Change Your WordPress Domain Name
1. Point the New Domain to Your Hosting
Start by connecting your new domain to your existing hosting account. This usually means updating the domain’s nameservers or DNS records to match your hosting provider. Until this step is complete, WordPress changes won’t matter, since the domain isn’t reaching your server yet.
2. Update the Site Address in WordPress Settings
Log in to your WordPress dashboard and go to Settings → General. Here you’ll see two fields:
- WordPress Address (URL)
- Site Address (URL)
These two fields aren’t identical. The WordPress Address (URL) is where your core WordPress files live, while the Site Address (URL) is what visitors actually see and use to access your site. For most single-site setups, both should match your new domain. If your WordPress installation lives in a subdirectory rather than the root, these can differ — but that’s an edge case, not the norm.
Update both fields to your new domain. Be careful with this step — if you’re not fully ready, this can temporarily lock you out of your dashboard, since WordPress will immediately redirect using the new address. Some site owners prefer to make this change directly in the database or via wp-config.php to avoid getting locked out, especially if DNS hasn’t fully propagated yet. Defining the WP_HOME and WP_SITEURL constants in wp-config.php lets you override these values without touching the database directly, which is a safer route if you’re worried about losing dashboard access mid-change.
If you’re running a WordPress Multisite network, domain changes involve additional considerations around subdomain or subdirectory mapping that go beyond a single-site switch — that’s a separate topic best covered in its own guide rather than here.
3. Update the Database URLs
Changing the settings in the dashboard only updates two fields. Your database still contains hundreds or thousands of references to the old domain — in posts, pages, widgets, and serialized data used by themes and plugins.
You have two common options here:
- Use a search-and-replace plugin built specifically for WordPress, which safely handles serialized data (a plain find-and-replace in the database can corrupt it).
- Use WP-CLI, if you’re comfortable with the command line, using the search-replace command for a fast and reliable update.
This step is the one most people get wrong, so don’t skip it even if the site “looks fine” after step 2.
4. Update Internal Links and Media References
Even after a database search-and-replace, double-check:
- Menu links
- Featured images and inline media
- Any hardcoded URLs in theme files or custom code
- Third-party integrations (analytics, forms, chat widgets) that may reference the old domain
5. Set Up 301 Redirects from the Old Domain
If your old domain is still active, set up 301 redirects pointing it to the new domain. This tells search engines and visitors that the move is permanent, helping preserve your existing rankings and preventing “not found” errors for anyone using old links or bookmarks.
6. Update Your SSL Certificate
Your new domain needs its own valid SSL certificate. Without it, visitors will see security warnings, and your site may not load over HTTPS at all. Most hosting providers can issue a free certificate automatically once the domain is correctly pointed. If you’re unfamiliar with this step, it’s worth reviewing an SSL for WordPress guide to make sure your site stays secure during and after the transition.
7. Clear Your Caches
If your site uses caching — whether a caching plugin, server-level caching, or a CDN — clear it once the new domain is live. Cached pages can continue serving old URLs to visitors even after your database has been updated, which makes the transition look incomplete when it isn’t. If caching is new territory for you, a dedicated WordPress Caching Guide covers how different caching layers work and how to manage them properly.
8. Resubmit Your Sitemap to Search Engines
Once everything is live on the new domain, submit your updated XML sitemap through Google Search Console and any other search engine tools you use. This speeds up the process of search engines recognizing your new URLs.
9. Test Everything Thoroughly
Before considering the job done, check:
- Homepage and key landing pages load correctly
- Login and admin dashboard work as expected
- Forms, checkout pages (if applicable), and third-party integrations function properly
- Old URLs redirect correctly to their new equivalents
A Note on Managed Hosting
If your site runs on Managed WordPress Hosting, several of these steps — particularly SSL issuance and DNS pointing — are often automated or simplified through the hosting dashboard. It’s worth checking your host’s control panel before doing anything manually, since you may be able to skip some of the technical legwork entirely.
It’s also worth noting that a domain change is sometimes done alongside a full site migration, such as when moving to a new host at the same time as switching domains. If that applies to you, a WordPress Migration Guide will walk through the additional steps involved in moving the site itself, separate from the domain change covered here.
Best Practices for a Smooth Domain Change
- Do it during low-traffic hours to minimize disruption.
- Keep the old domain registered for at least six to twelve months so redirects continue working.
- Update your domain everywhere it’s referenced externally — social media profiles, email signatures, business listings, and marketing materials.
- Monitor traffic and rankings for a few weeks after the change to catch any issues early.
Common Mistakes to Avoid
- Changing the General Settings URL before DNS has propagated, which can lock you out of the dashboard.
- Using a basic find-and-replace instead of a WordPress-safe tool, which can corrupt serialized data in themes and plugins.
- Forgetting to set up redirects, which causes lost traffic and broken links from external sites.
- Not updating the SSL certificate, leaving the site with security warnings.
- Skipping the testing phase, only to discover broken forms or checkout pages days later.